


WP Push Notify v2 is a fully self-hosted WordPress plugin that sends native Web Push Notifications directly to your subscribers' browsers — with zero third-party dependency and zero recurring cost. You own everything.
Unlike SaaS tools like OneSignal or PushEngage that charge monthly fees and own your subscriber data, WP Push Notify stores everything in your own database. One purchase, lifetime use, unlimited subscribers.
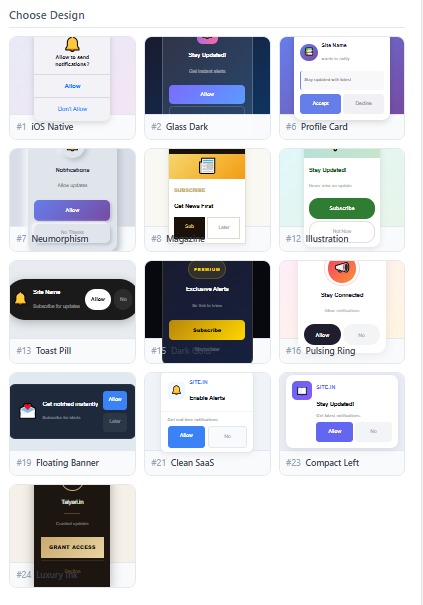
The plugin ships with 13 handcrafted popup designs — from iOS-style minimal cards to dark luxury and animated glass morphism — all selectable from the admin dashboard with a live preview so you see exactly what your visitors will see.
How to Install & Use
01. Upload the Plugin
Go to
WordPress Admin → Plugins → Add New → Upload Plugin. Select the downloaded ZIP file and click Install Now, then Activate.02. Automatic Setup
On activation, the plugin automatically creates the database table, generates your VAPID keys, and copies the service worker file (
wppush-sw.js) to your WordPress root folder. No manual configuration needed.03. Choose Your Design
Go to
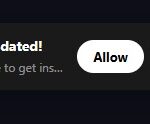
Push Notify → Settings. You will see a 2-column layout: on the left, click any of the 13 design thumbnails to select it. The Live Preview panel at the top updates instantly to show the full popup.04. Customize the Popup
On the right column: upload your logo, set the popup title, message, allow/deny button text, popup position (top/center/bottom), and delay in seconds. Toggle show/hide for site name and message subtitle.
05. Save & Go Live
Click
Save Settings. The popup will now appear on your site to all new visitors after the delay you configured. Visitors who click Allow are instantly added to your subscriber list.06. Send Push Notifications
Go to
Push Notify → Send Push. Enter a title, message, and optional URL and icon. Filter by country or site if needed. Click Send — all subscribers get the notification instantly. Or let it auto-send on new post publish.
Reviews
There are no reviews yet.